This type of sign is ready to go, right out of the box. There is visible wiring, and is easy for anyone to install.
Note: If you’re looking for a permanent installation with hidden wiring, please see Installation: In-Wall Wiring
How it works
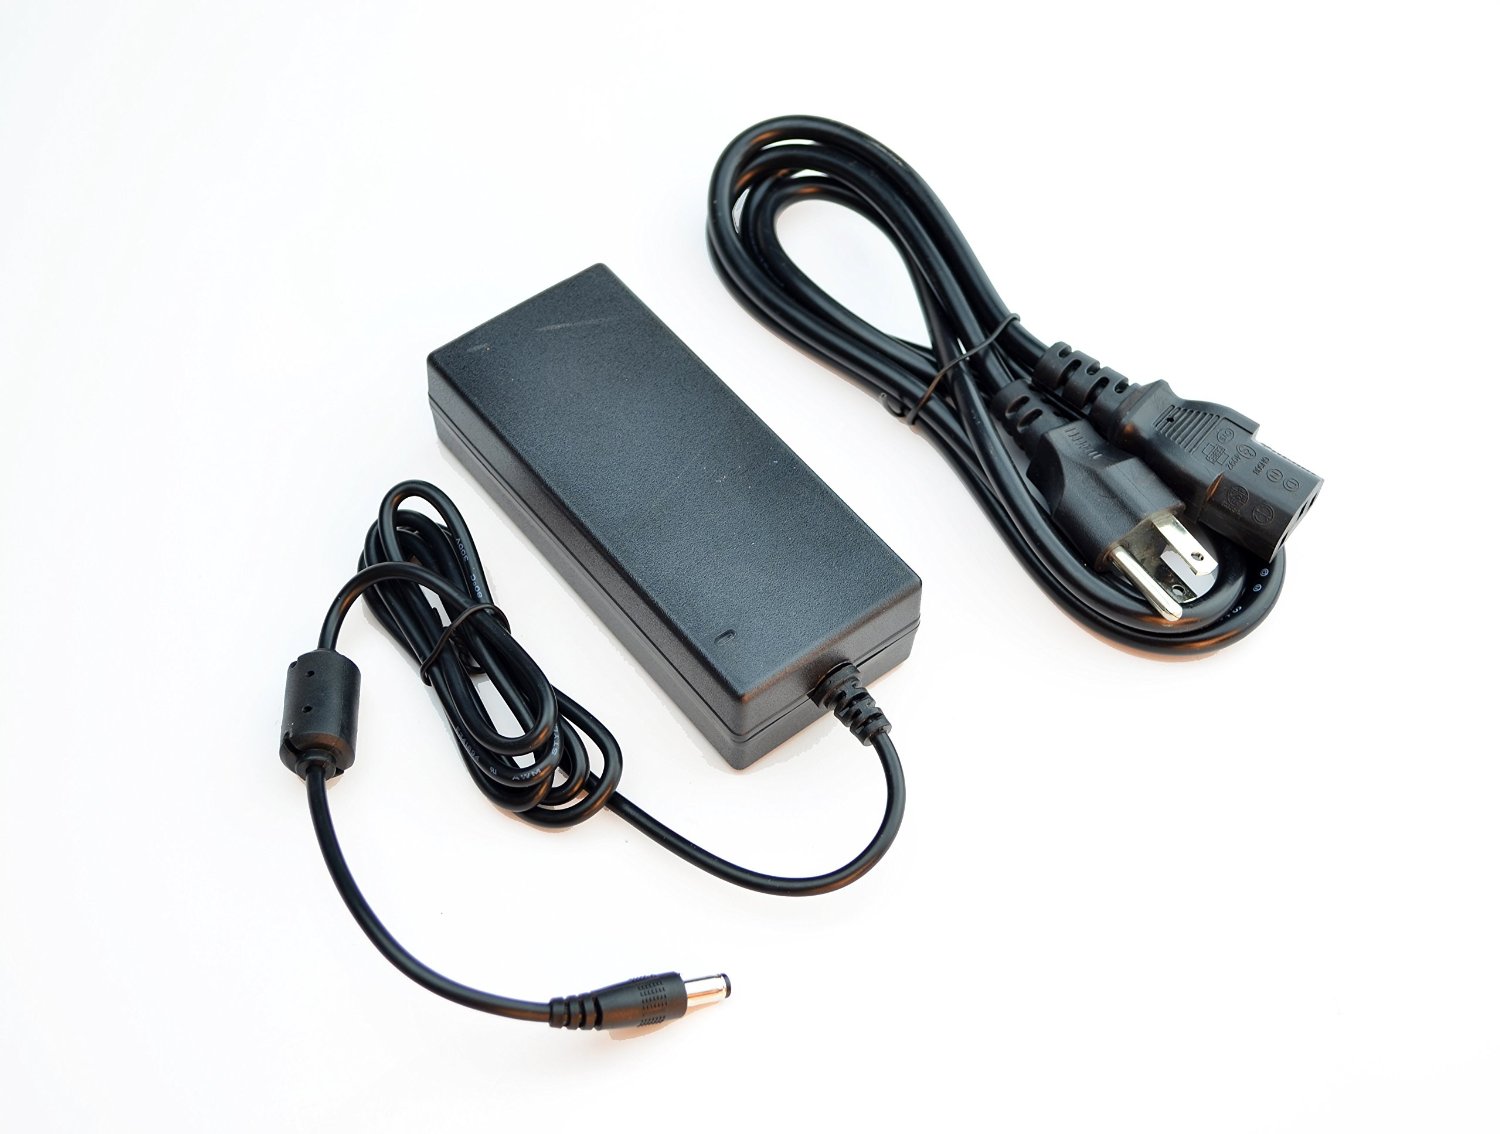
The sign simply plugs into a wall socket using a laptop style power adapter. The sign is powered by 12V DC, and can use an extension on the DC wire side to help tuck the adapter away somewhere more hidden. This does not require a licensed electrician.
Installing your sign
A paper template is included to locate and install screws to hang on. For more details on this process, refer to Installation: Wall Cleat

Power supply
A power supply is also included in your kit. This can be plugged into a switchable wall socket to turn the sign on/off. The power adapter is about 8 feet long, with a power brick in the center.
- Sign comes with laptop style power supply and in-line toggle switch. Power supply is approximately 6′ long and uses a standard 2.1mm DC barrel plug. Extensions in white, black, flat, etc. are available online.
- Power supplies are generally 12 volts (VDC) and 60 watts (W), but may be 24 volts, depending on your sign. Be sure to look at the power supply label if you ever decide to replace it and use the same voltage + wattage. A higher wattage is OK, but voltage must match.
- All you need is a standard 120V wall plug to operate the sign.


