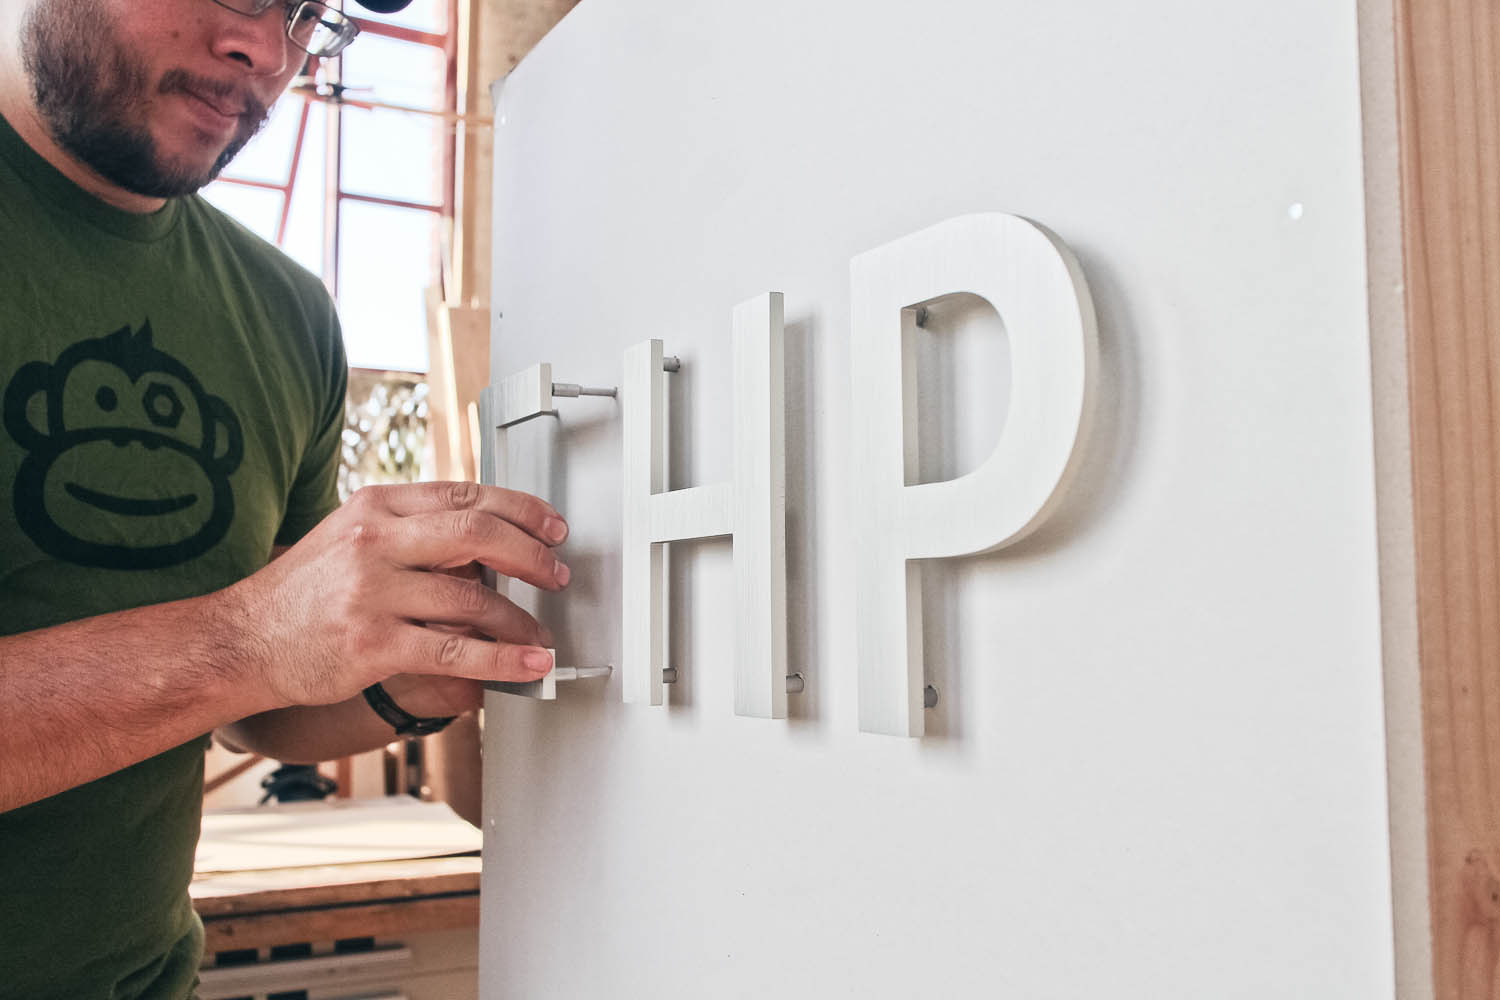
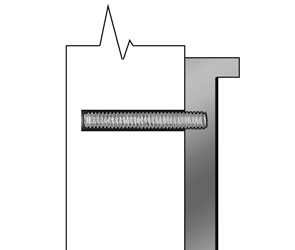
This type of sign installation includes gently pressing the posts (studs) on the back of your sign straight into the wall.
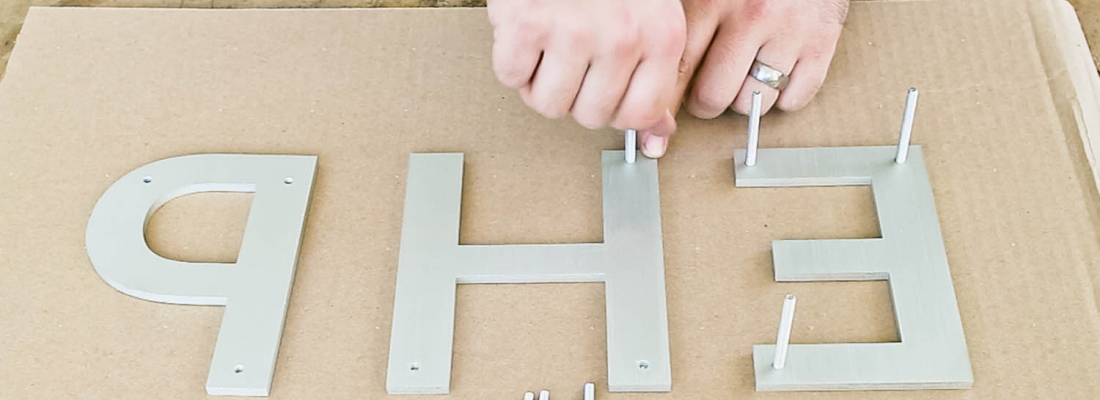
The pieces to your sign have been drilled and tapped to receive the included threaded studs in your kit. These studs are then pressed into pre-drilled wall holes and secured with adhesive.
What you’ll need
- Spacers (included if requested)
- Painter’s tape
- Level
- Hanging template (included)
- Threaded studs (included)
- Silicone (included)
- Drill
- Drill bit
- Sharp tool for marking holes
- Washers and/or anchors (if needed)
Step 1: Align the template
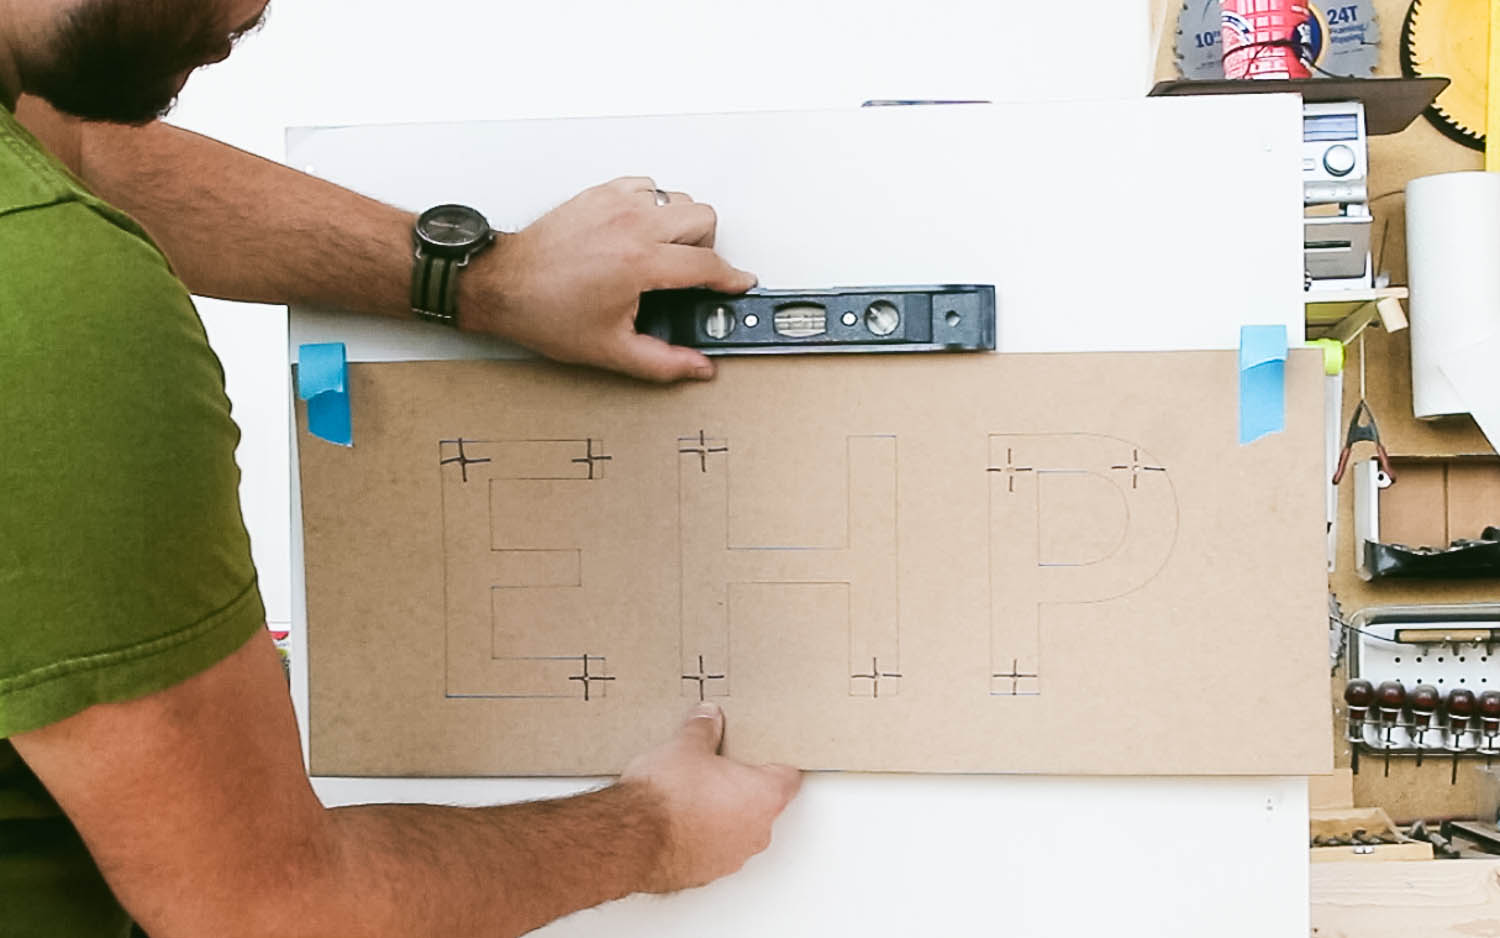
Use a level to align the paper template in the desired location. Be sure to check left and right side spacing. Fix in place with masking or painter’s tape. Use enough tape to make sure the template is very flat.
Step 2: Mark the holes.
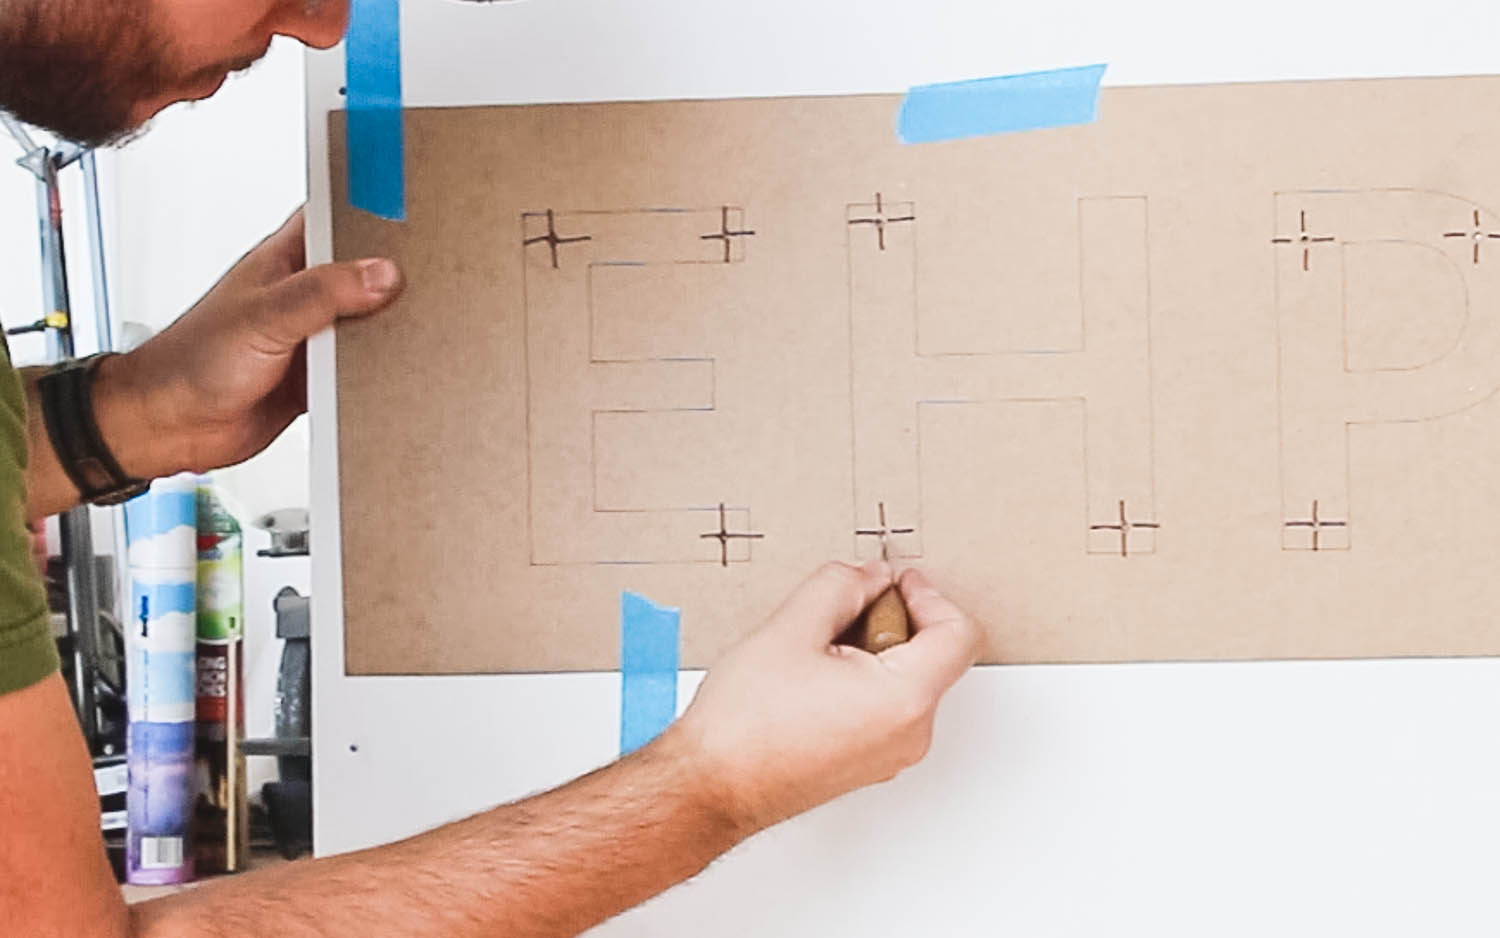
Use a sharp tool like a nail or an awl to punch through the template and leave a mark on the wall. Be careful to get the very center of each mark so all the sign parts are aligned.
Step 3: Select the appropriate drill bit.
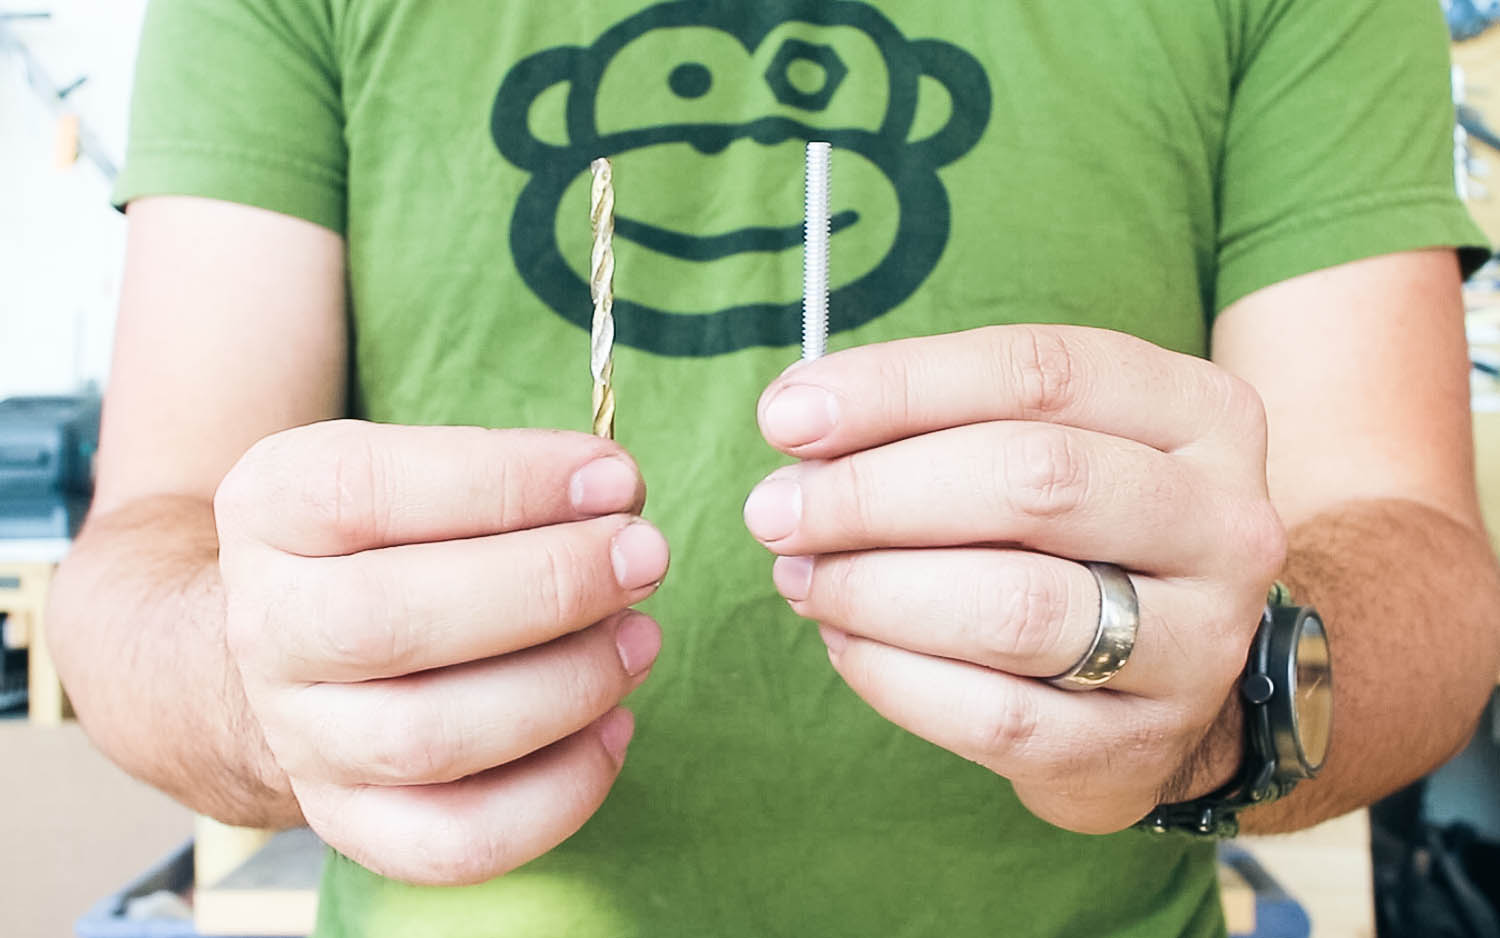
Select a drill bit that is a little larger than the threaded studs included with your sign. Brick or cinderblock may require using a hammer drill & masonry drill bit.
Step 4: Drill the holes.
After removing the paper template, carefully drill holes in each mark. Keep the drill bit perpendicular to the wall for best results.
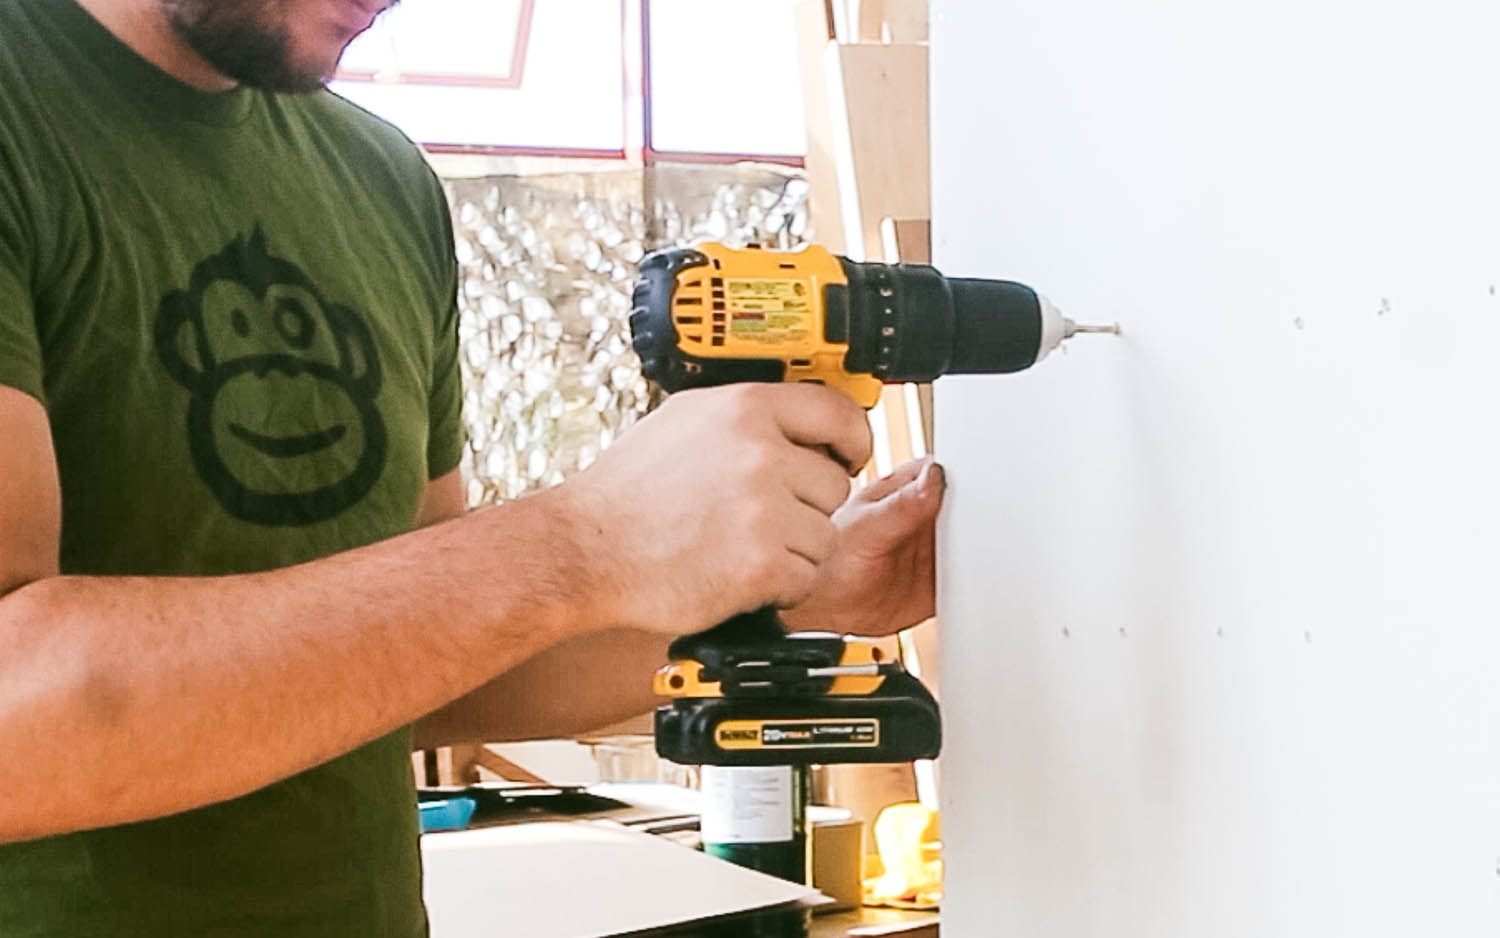
Step 5: Clean out the holes.
Use the cooling fan from the droll to quickly blow out the drywall dust from each hole.

Step 6: Attach the studs
Thread the studs into the back of each sign part. Finger tight is good enough. More about mounting types »
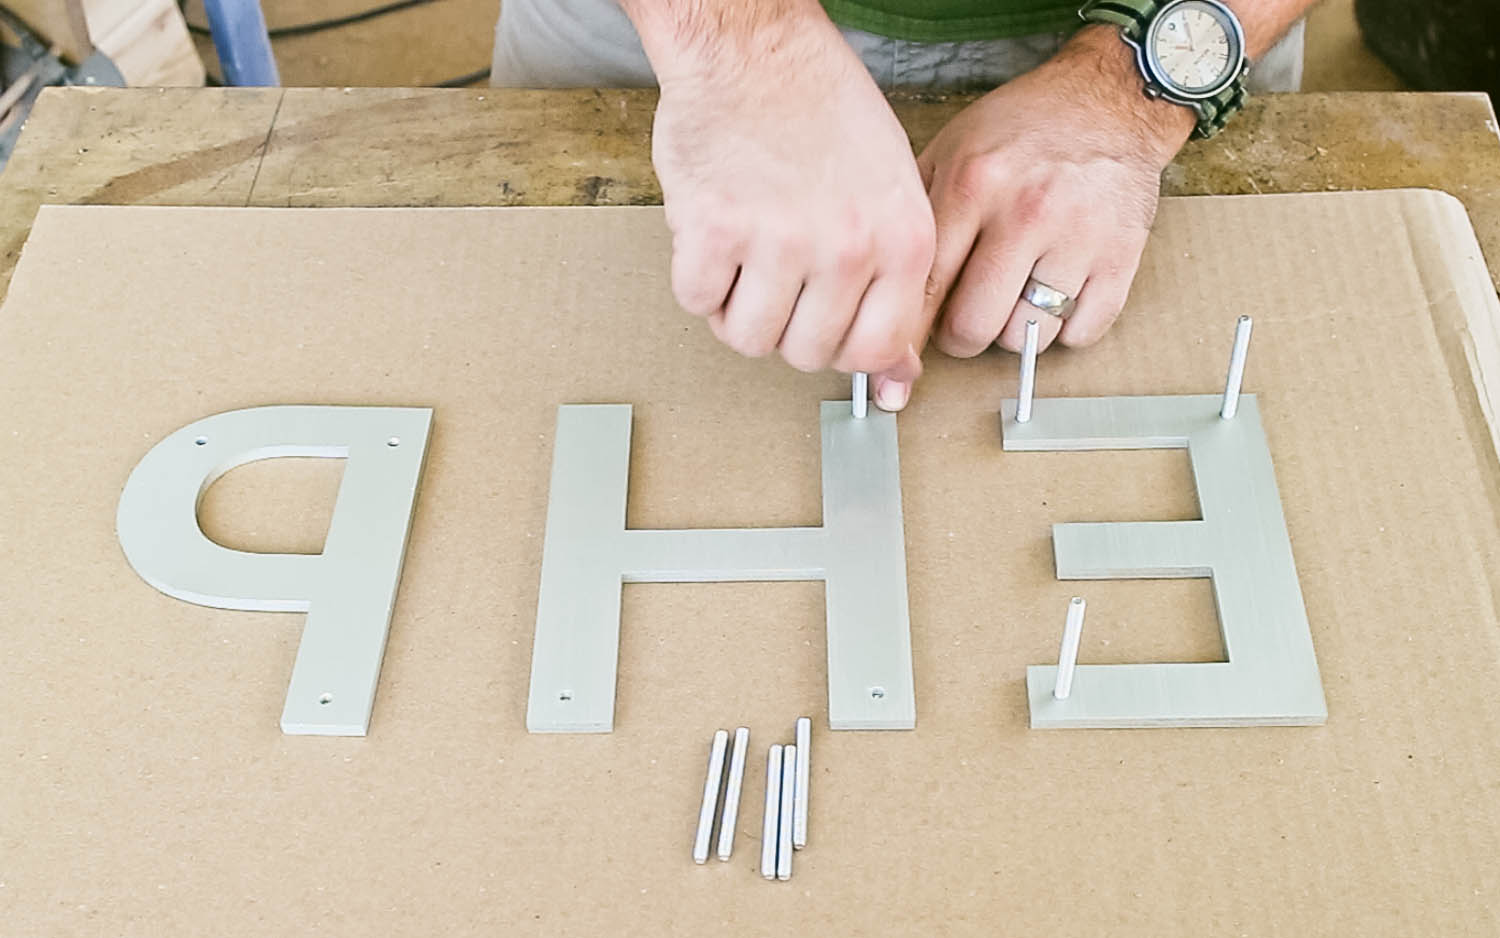
SPECIAL NOTE
Mounting Types

With spacers. Available in 1/4″, 3/8″, 1/2″, 5/8″, 3/4″, 7/8″, 1, 1.5″, or 2″. We will typically recommend the ideal spacer size according to use and sign size.

Without spacers
Step 7: Test fit the parts
Carefully test fit the parts in the holes—do not apply adhesive yet and do not force studs into holes. If the pieces do not press easily into holes, make the hole larger with the bit until letters can be set straight.

Step 8: Apply adhesive
Use the included silicone to fill each hole. A small amount should be enough, most drywall is less than 2″ thick. Apply a good coating of the same adhesive to the studs as well.
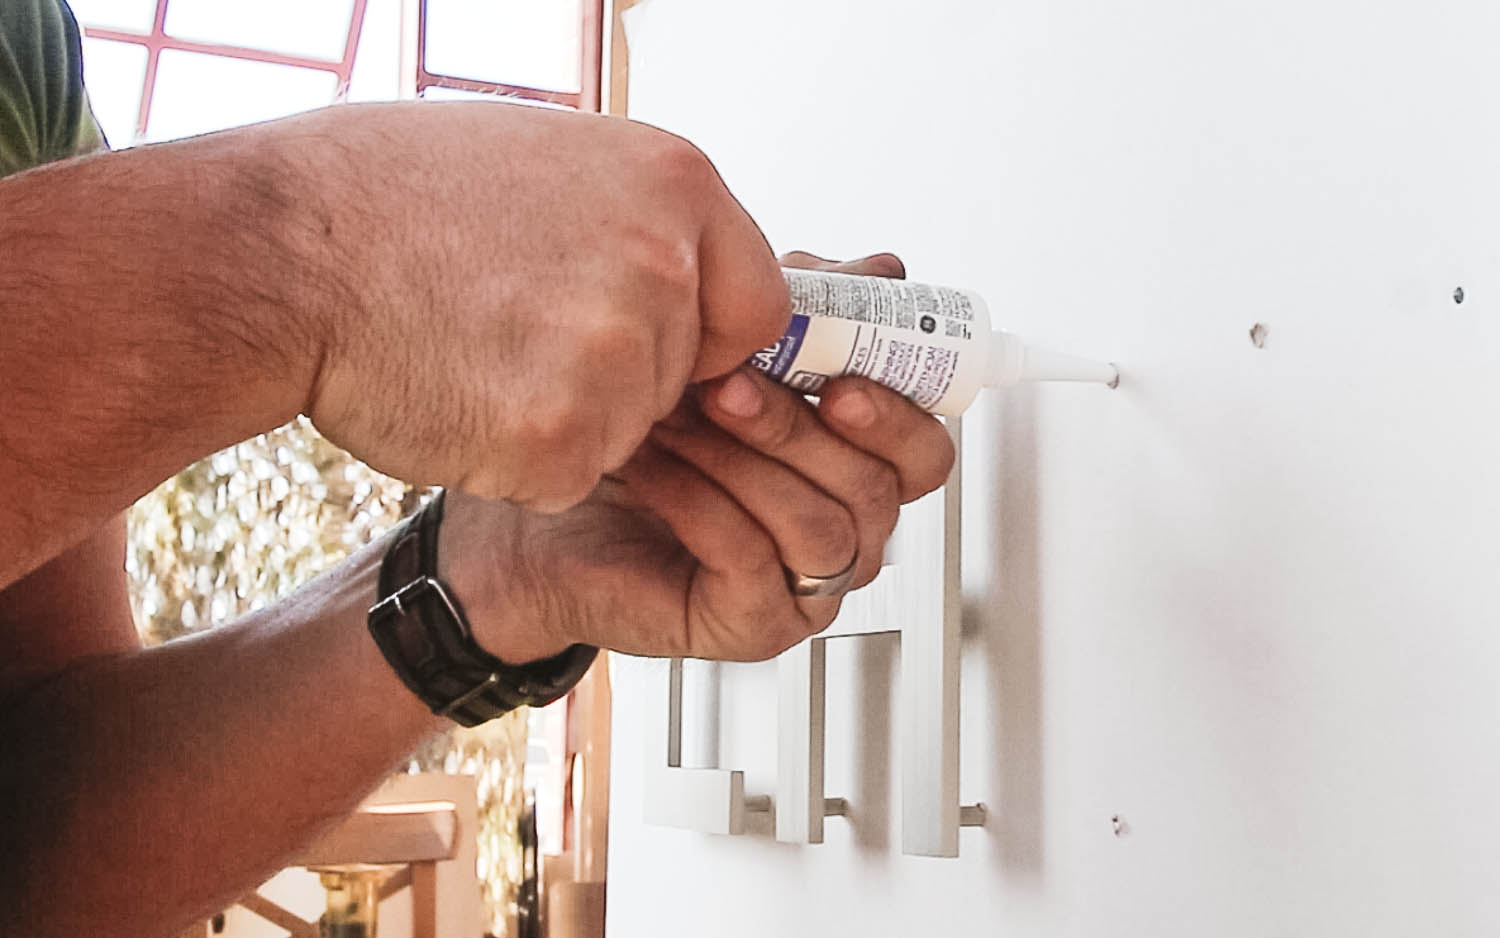
Step 9: Install the sign parts
Carefully install each part. If you have spacers, make sure to slip them over the threaded studs before the final installation.
